-
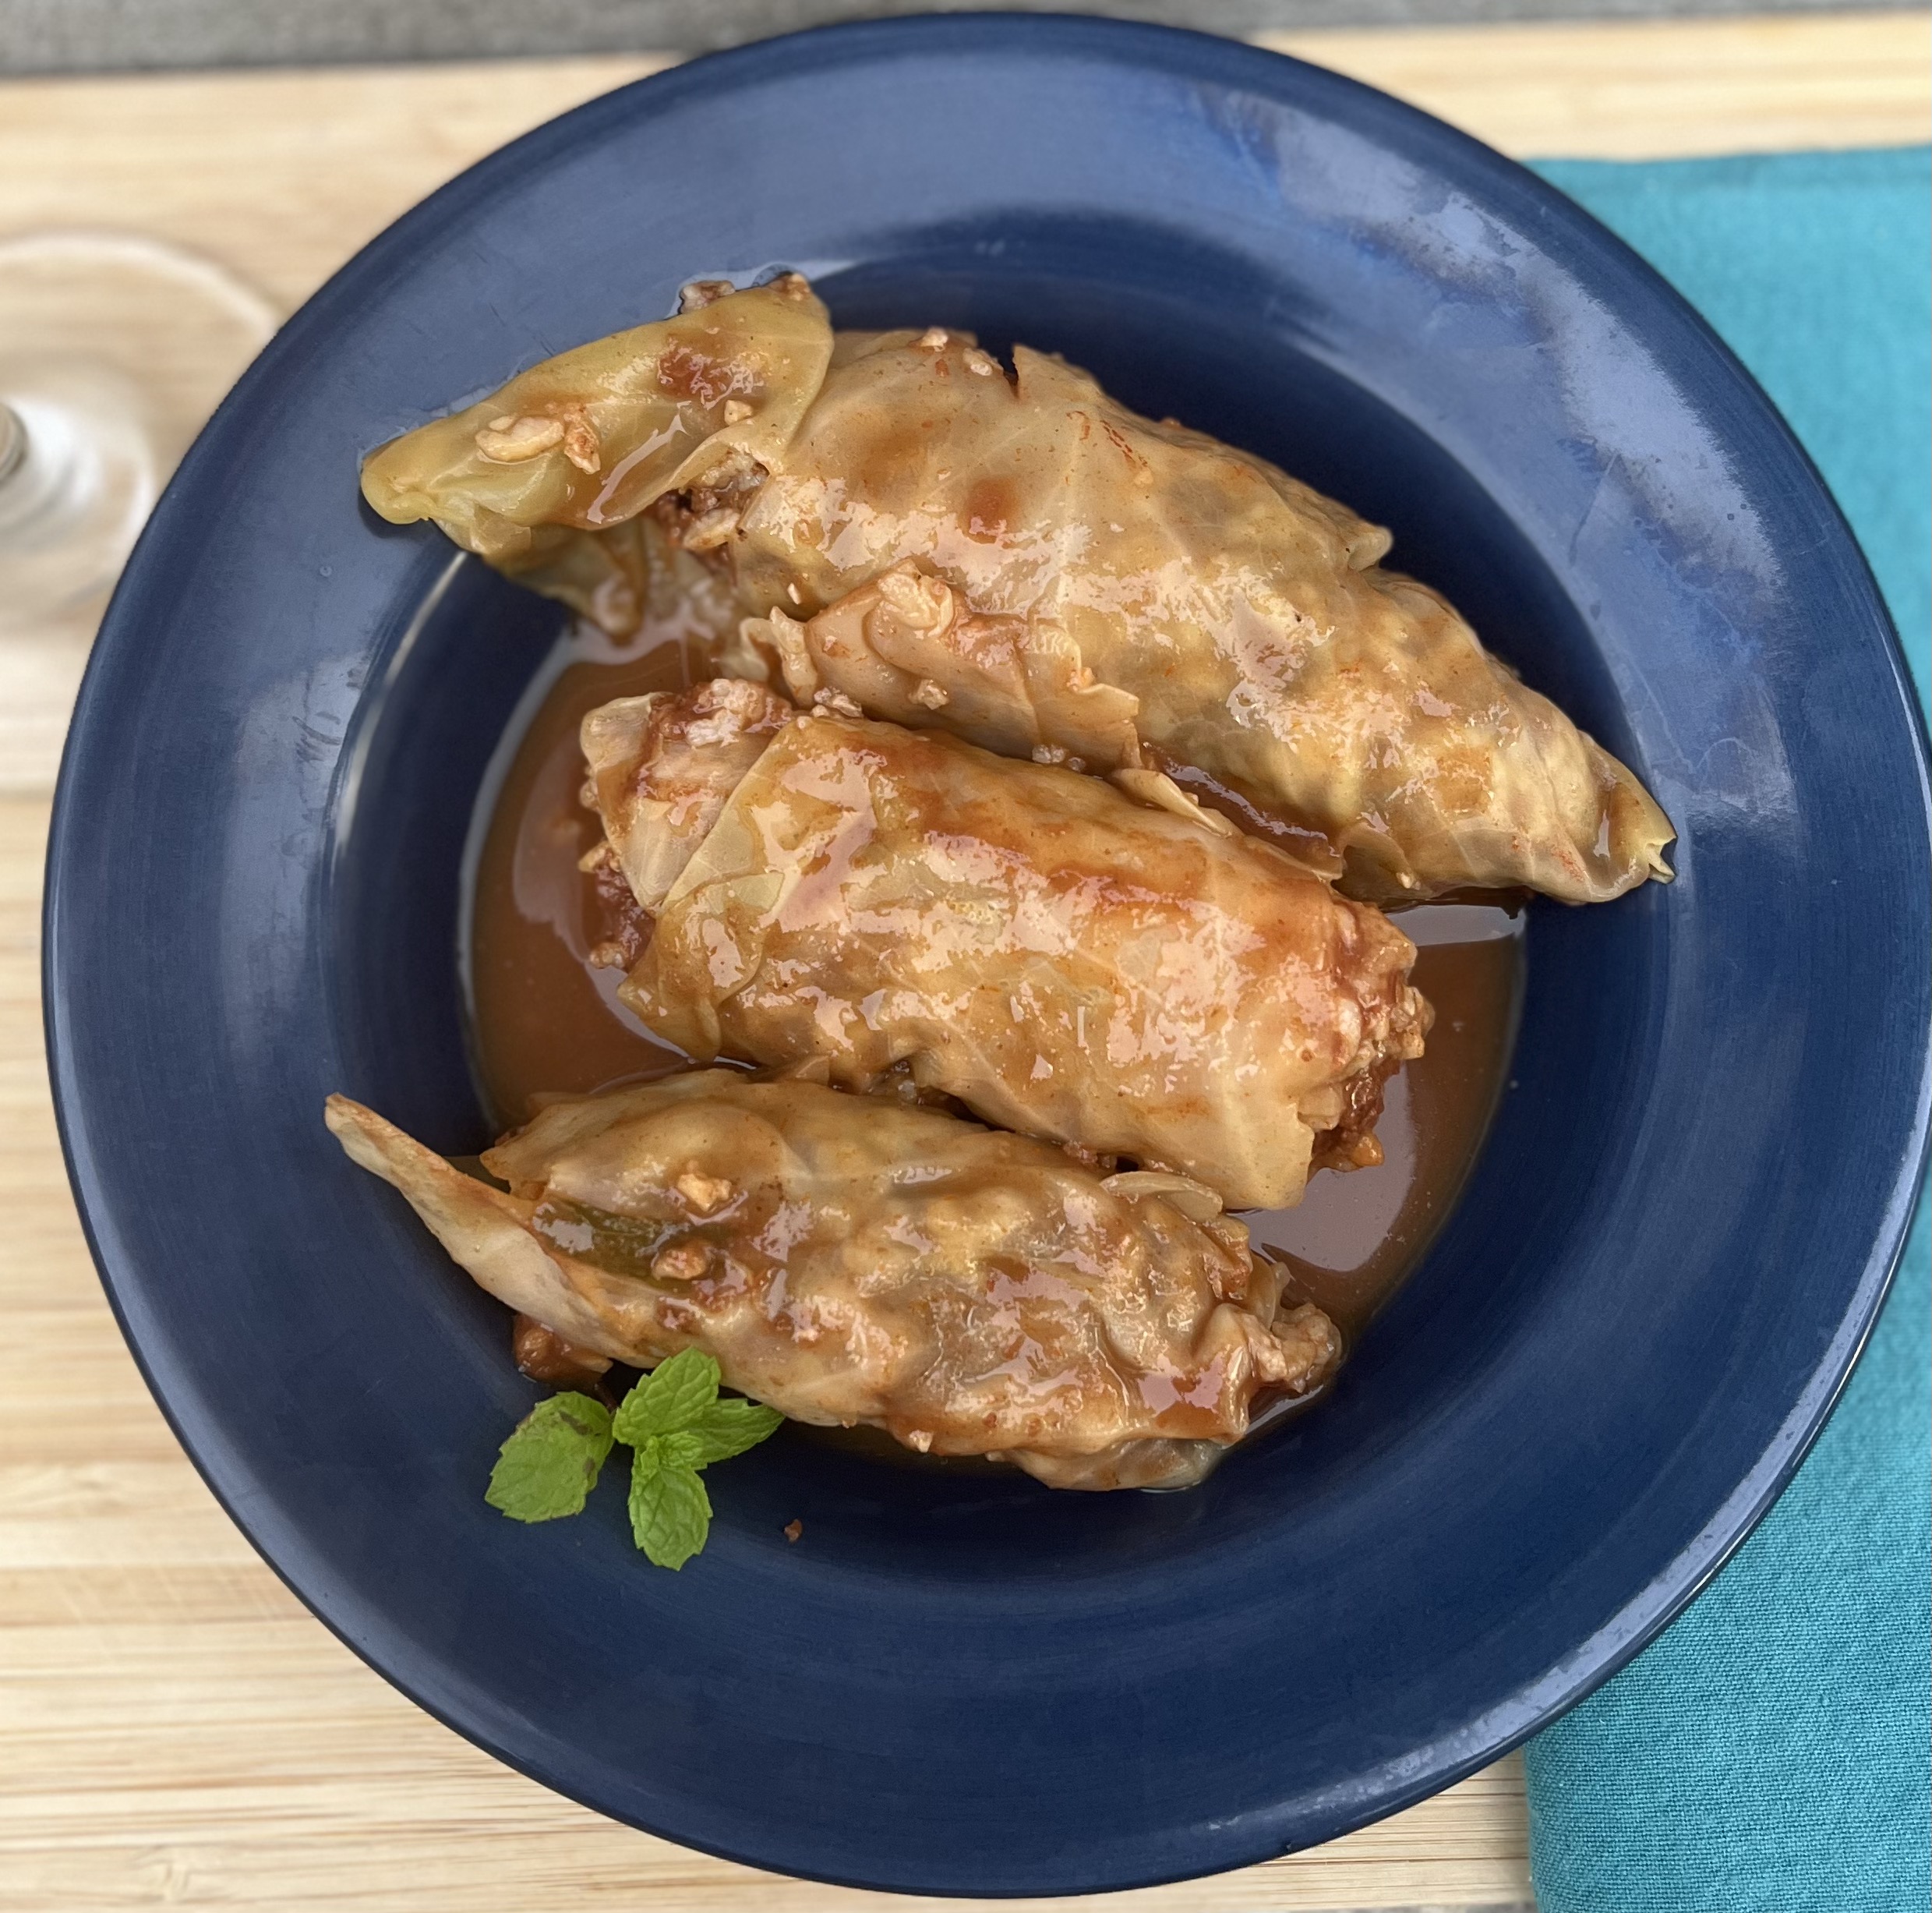
Lahana (Syrian Meat and Rice Cabbage Rolls)
Lahana is savory delicious dish that I remember fondly from my childhood. This dish consists of meat and rice stuffed inside of cabbage. Savoy cabbage is the best kind of cabbage to use for this dish, but I usually cannot find it and use green cabbage, which also works fine so long as you cut the thick middle vein out. The lemon juice, mint, tomato, and pomegranate molasses give these cabbage rolls a savory scrumptious flavor. Pomegranate molasses can be found in any Arabic grocery store and is a vital ingredient. You can use dried or fresh mint. I like to use fresh mint because I grow it in my…
-
Crock-Pot Moroccan Chicken Stew
This recipe is one that my husband and I have recently started making. It is super easy as you can just throw all of the ingredients into the crock pot and then just leave it all day. The smell is amazing with all of the spices in this stew and fills the house. The chicken thighs are moist and delicious and make a wonderful stew. They basically are falling apart by the time is stew is finished. I love the addition of dates as they add just the right amount of sweetness. The cilantro and toasted pine nuts take it over the top. I hope you all will give this…
-
Banana Chocolate Chip Muffins
Today I am going to share a very easy recipe for banana chocolate chip muffins. This is based off of the recipe that my mom uses to make banana chocolate chip bread, but with a few modifications of my own, and also as muffins instead of bread. It is delicious as a breakfast, served with eggs, or as a sweet snack, or dessert! I am not a big fan of bananas when they are overly ripe, and this recipe is a great way to use those up. I hope that you all will enjoy the recipe!
-
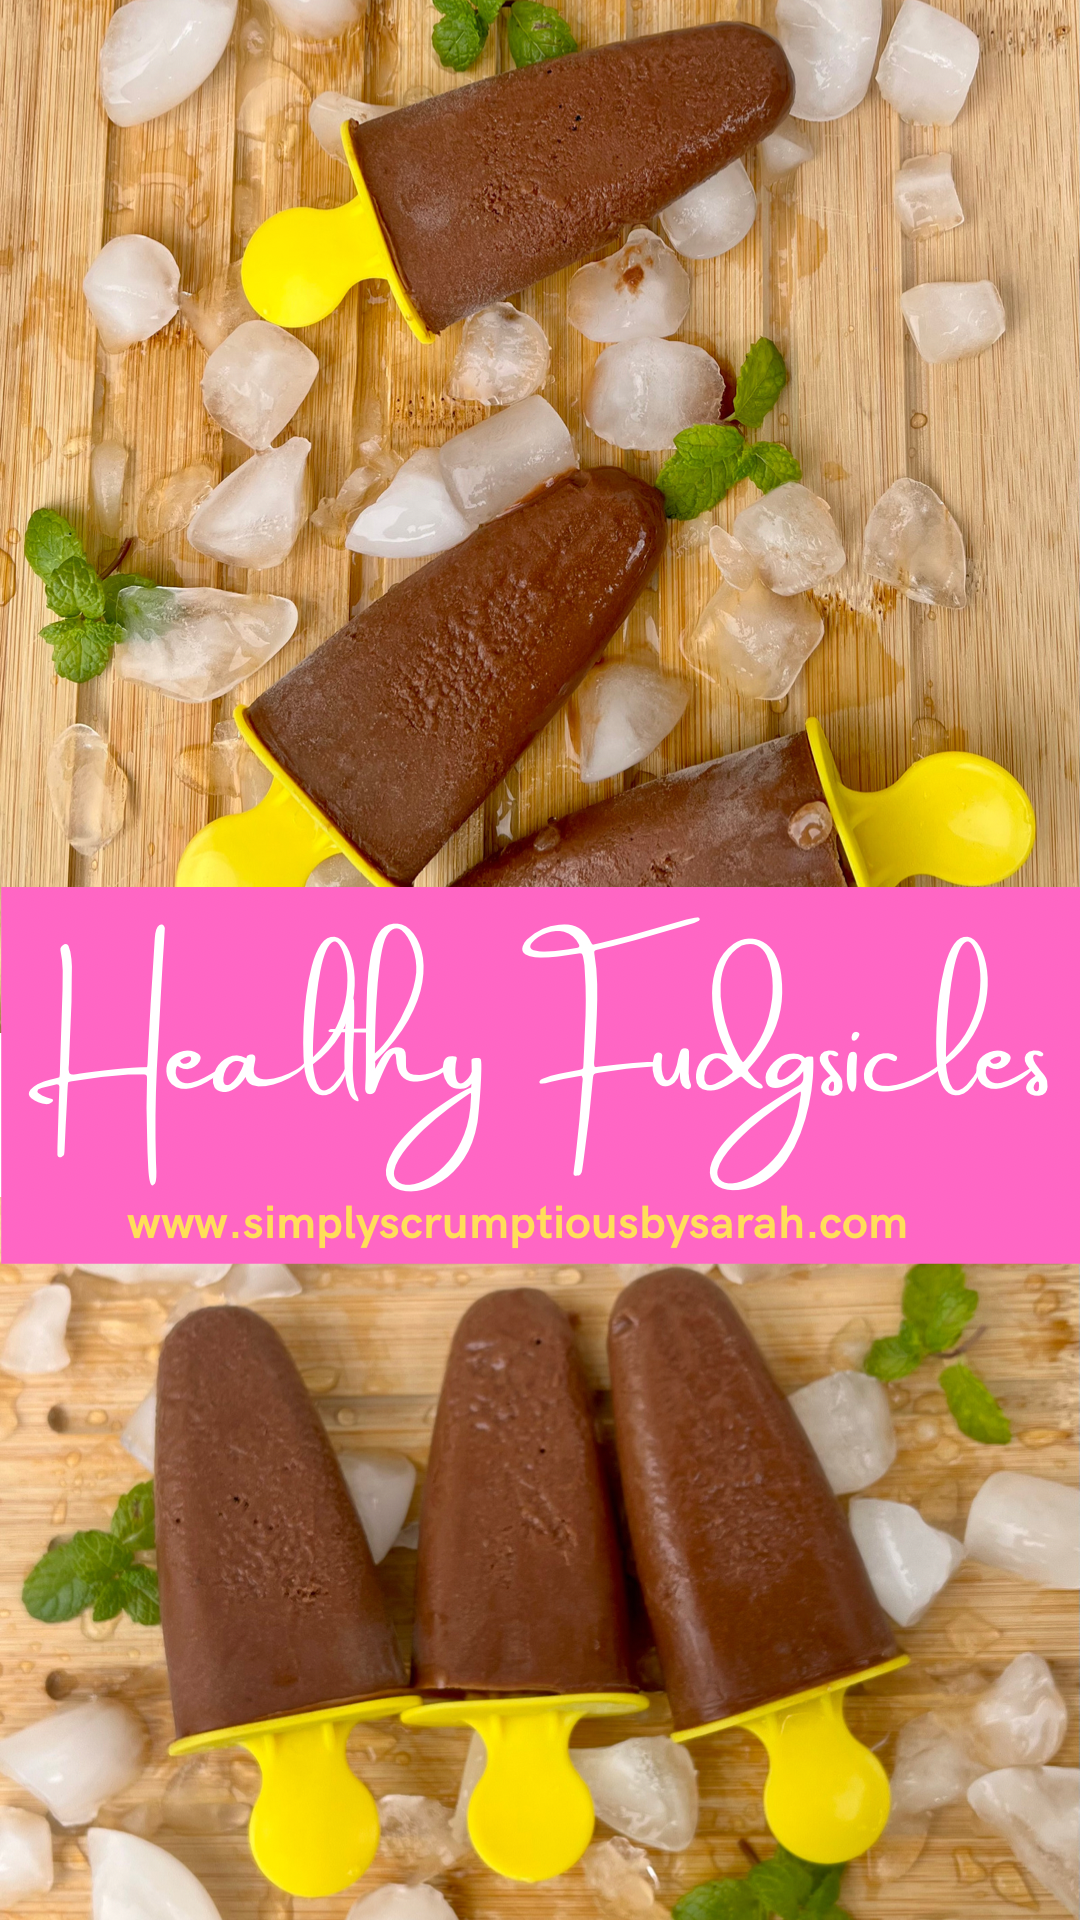
Healthy Fudgsicles
The other night my husband and I were eating some oat milk fudge bars from Trader Joes. They were delicious, but I thought to myself, I can make these myself, healthier and cheaper. So I decided to develop a recipe of my own. These frozen fudge bars are sweetened with banana, and fresh dates. I added no extra sugar! I used almond coconut milk, so that they are plant based. I brought back raw cacao from our trip to Costa Rica from Two Little Monkeys Farm, which made them extra special! These healthy fudgsicles are also the easiest to make! I hope you will enjoy the recipe on a hot…
-
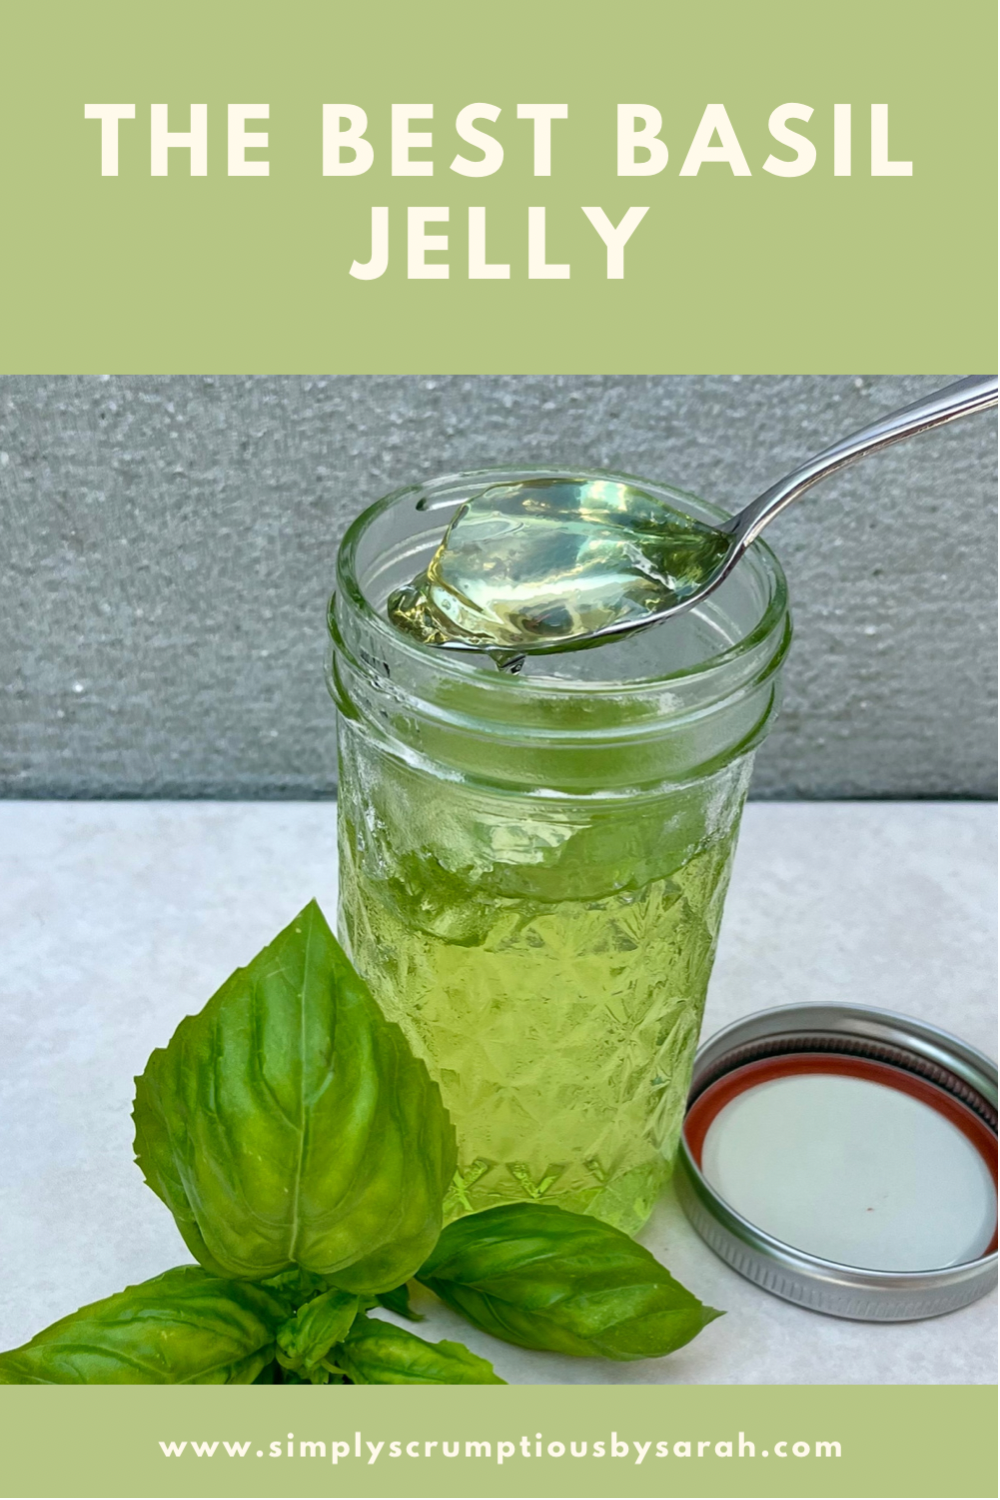
Basil Jelly
Something that I greatly enjoy is gardening. I only have a small townhome, so all of my plants must be potted, but I am currently growing basil, and I have a wonderful crop this year. My mom suggested that I make basil jelly, and shared her recipe with me. It came out delicious and I wanted to share it with you all today. This jelly is very unique and gives a wonderful flavor to toast in the morning, or in a peanut butter and jelly sandwich. It also works very nicely on a charcuterie board. Have you ever wanted to make homemade jams or jellies, and thought “that is…

Simply Scrumptious by Sarah
Healthy and Delicious Recipes from Scratch